Settings Management
Business Settings
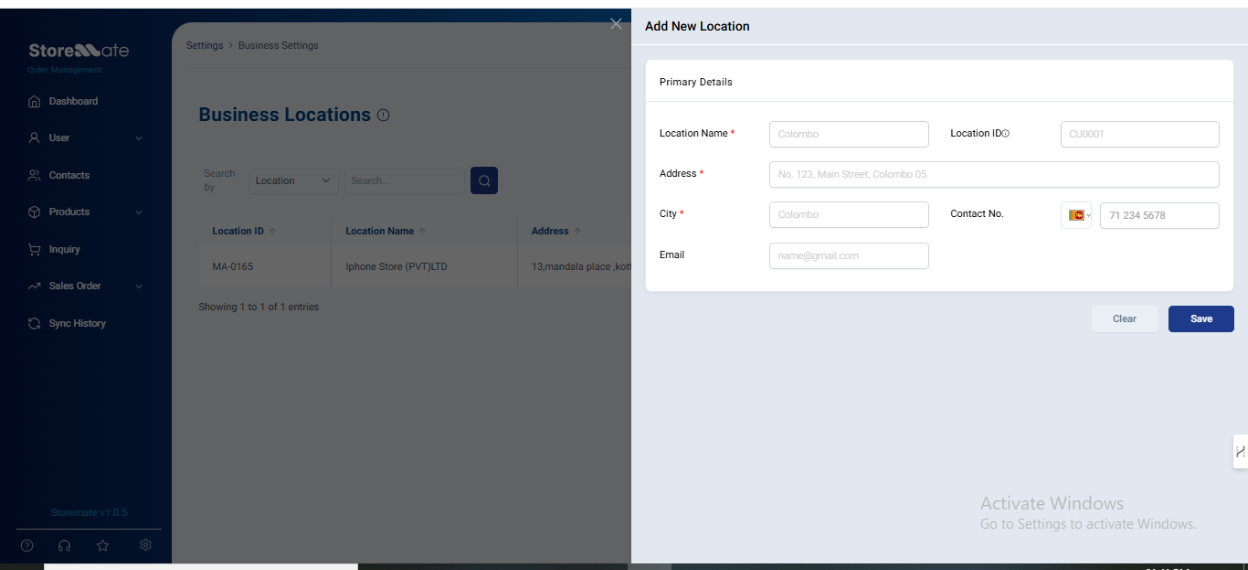
The location section allows you to manage and create new business locations.
View & Manage Locations
All currently created business locations will be listed here. You can edit existing locations or add new ones.
How to Add a New Location
- Go to Settings > Business Settings
- Click Add New Location
- Fill in the following fields:
- Location Name: (Required)
- Address: (Required)
- City: (Required)
- Email: (Optional)
- Contact Number: (Optional)
- If a Location ID is not entered manually, the system will auto-generate one (e.g., LOC001).
- Click Save to create the new location. It will now appear in your location list.

Layout Settings
The Layout Settings section allows you to customize the layout of waybills.
How to Access:
- Go to Settings > Layout Settings
- Select Add New Layout
Customizable Fields:
Order Settings
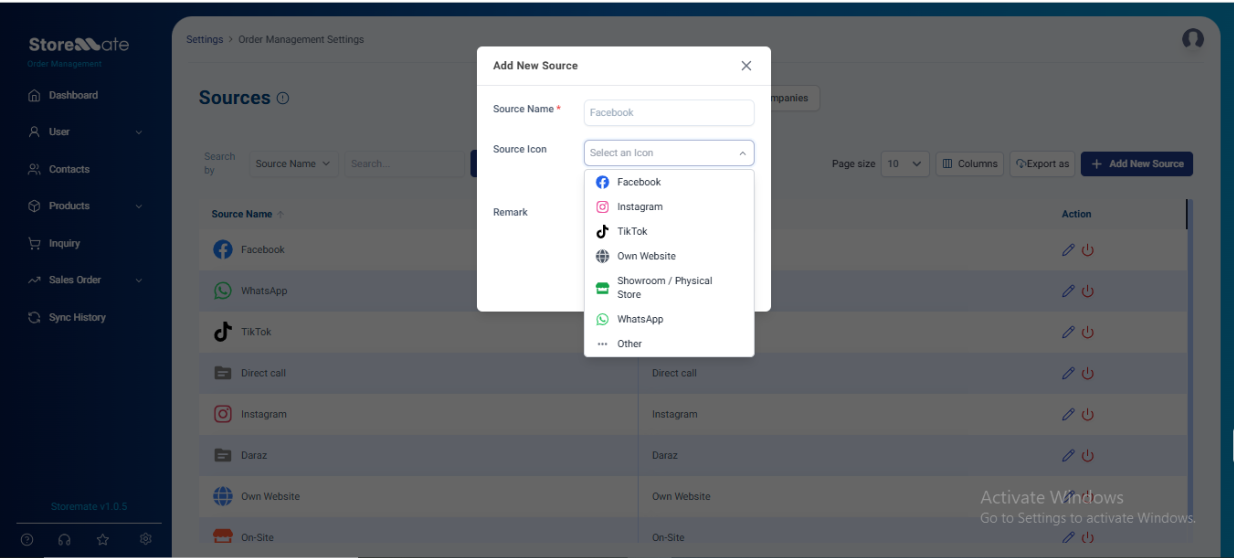
Sources
Add the platforms or places where orders come from (such as Facebook, WhatsApp, Direct Call, etc.).
How to Add a New Source
- Go to Settings > Order Settings > Sources
- Click Add New Source
- Fill in the details:
- Source Name: (Required) – e.g., TikTok, Instagram
- Source Icon: (Optional)
- Remark: (Optional)
- Click Save. The new source will now appear when creating inquiries.
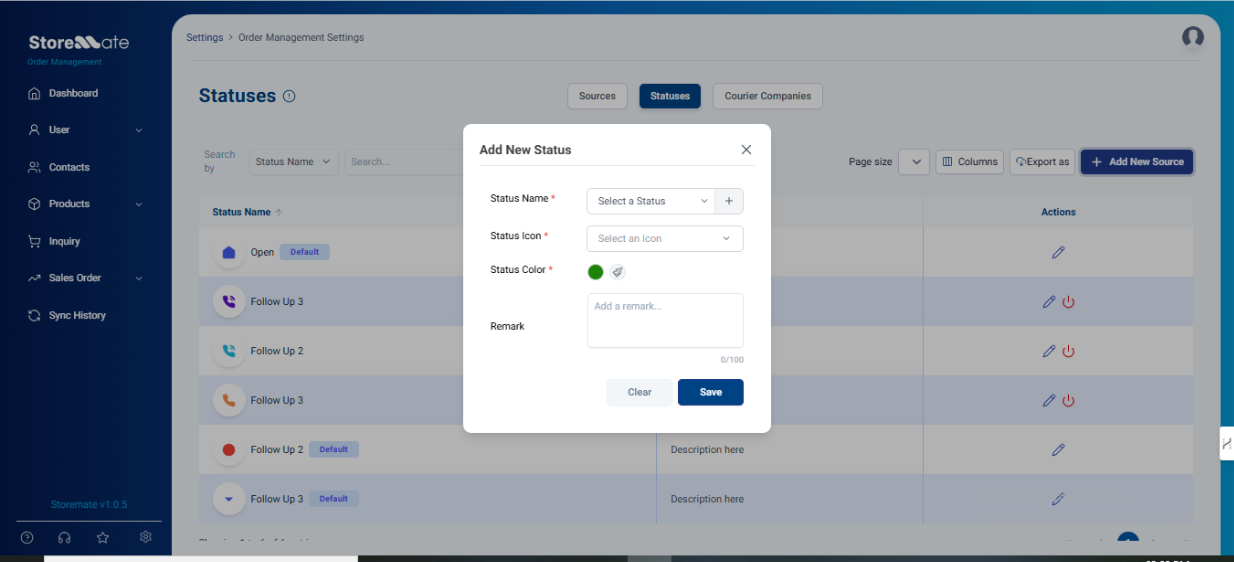
Status
Add custom follow-up statuses like Hold, Not Answered, Fake, Won, or Lost to manage how you track inquiries.
How to Add a New Status
- Go to Settings > Order Settings > Status
- Click Add New Status
- Fill in the details:
- Status Name: (Required)
- Icon: (Required)
- Color: (Required)
- Remark: (Optional)
- Click Save. This new status will appear in the inquiry section.