Purchase Return
How to do a Purchase Return?
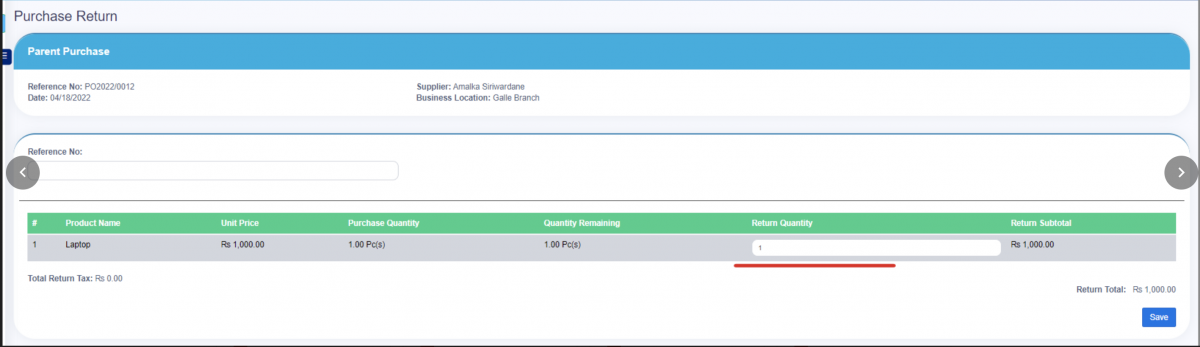
Select the parent purchase for each and every returned sale.
Steps: Purchase > List purchase > Return Purchase
Click the action button in the parent purchase and then click the purchase return option button.
Enter the quantity of the return.
When clicking the save button, there will be a notification pop-up for the items that you have to settle.
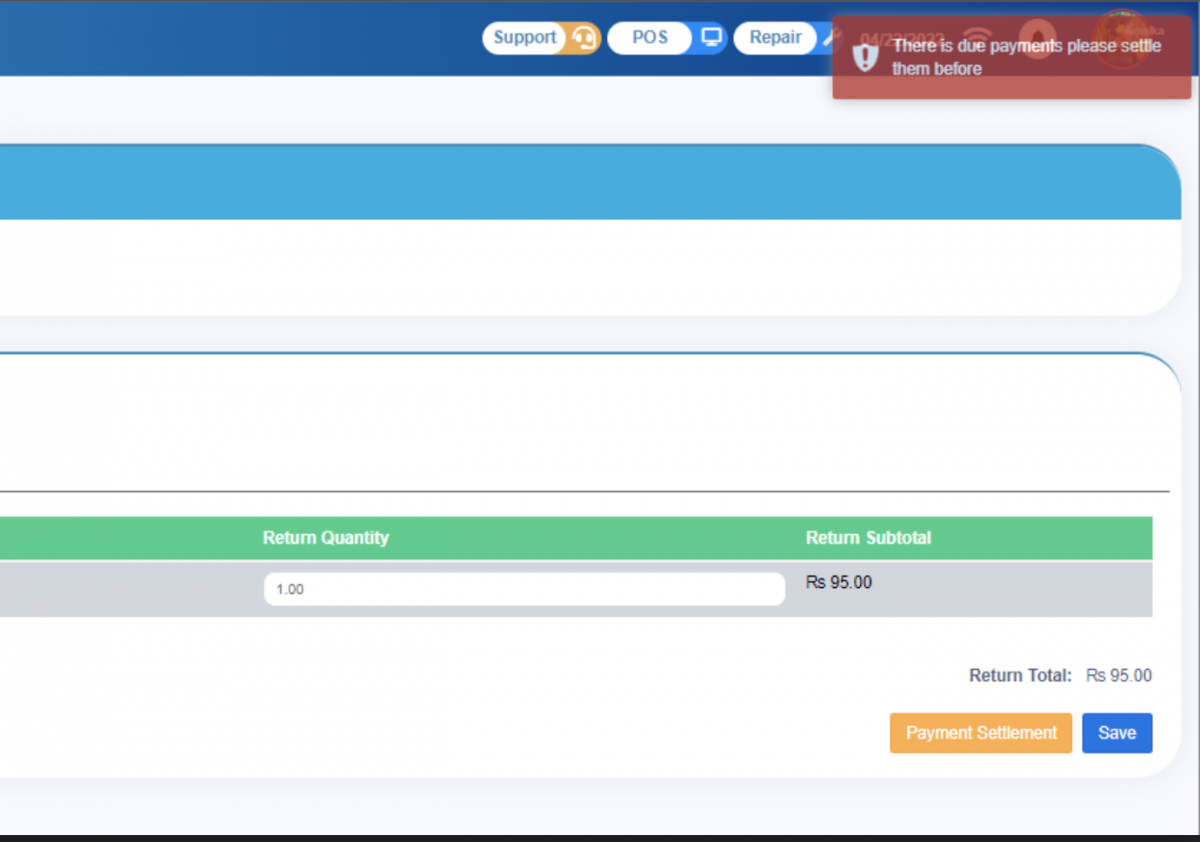
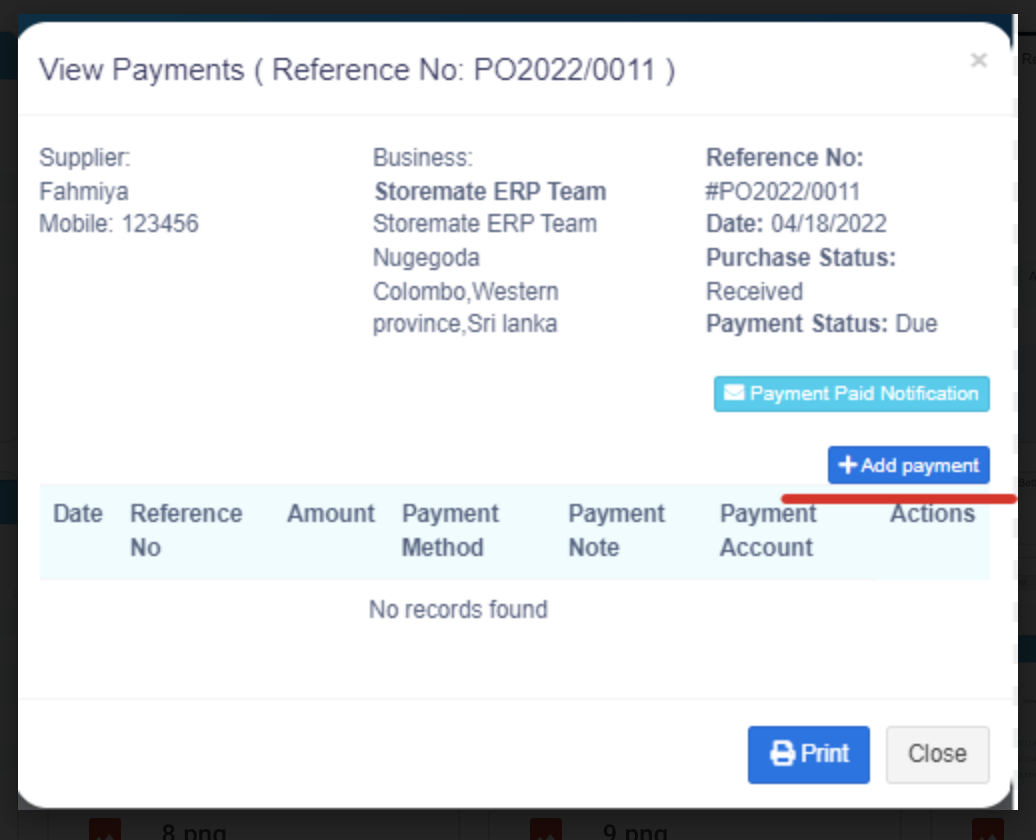
Now, you can press the Payment Settlement button to do a settlement.

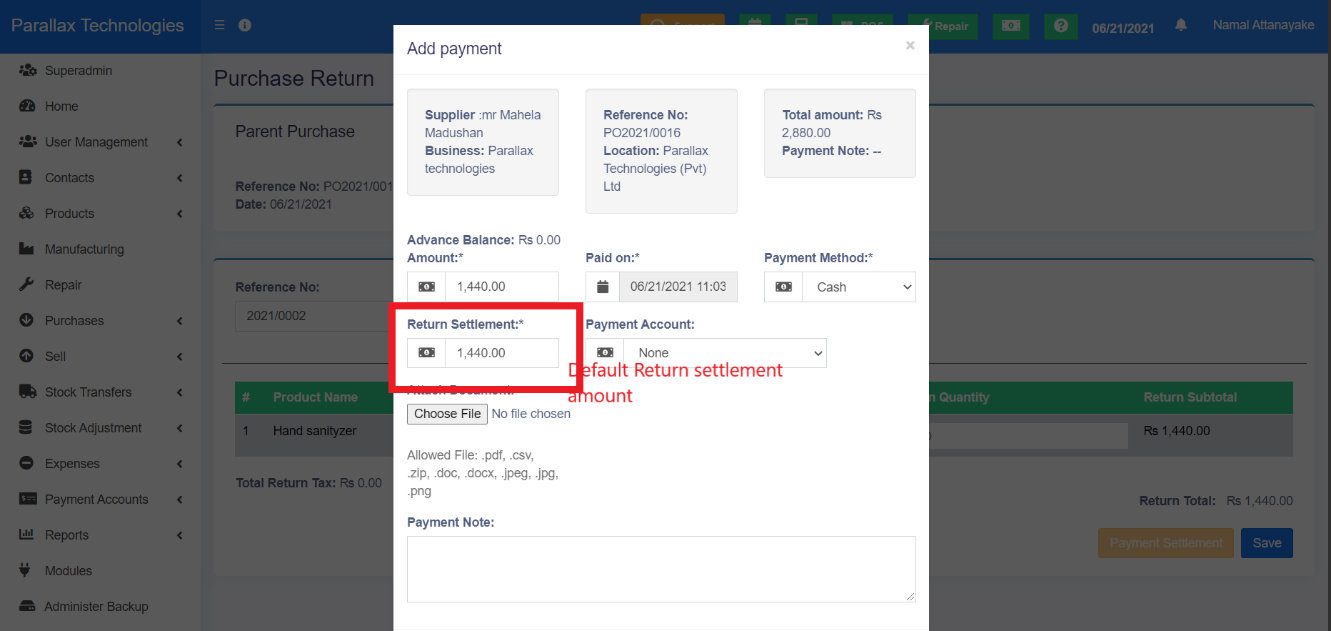
Then, press the Add Payment button to complete the settlement. The settlement amount will be displayed automatically. After that, save and finalize it.
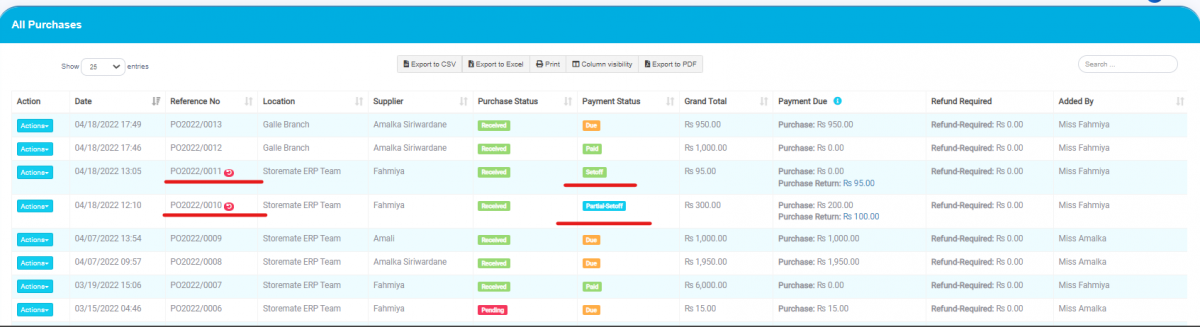
If there are any returned items on the parent sale, a red icon (return icon) will appear near the Invoice Number.
If the payment is already settled, you will see the Setoff label under the payment status.
If there is any due payment and return settlement, a blue label named Partial-Setoff will be shown in the payment status.
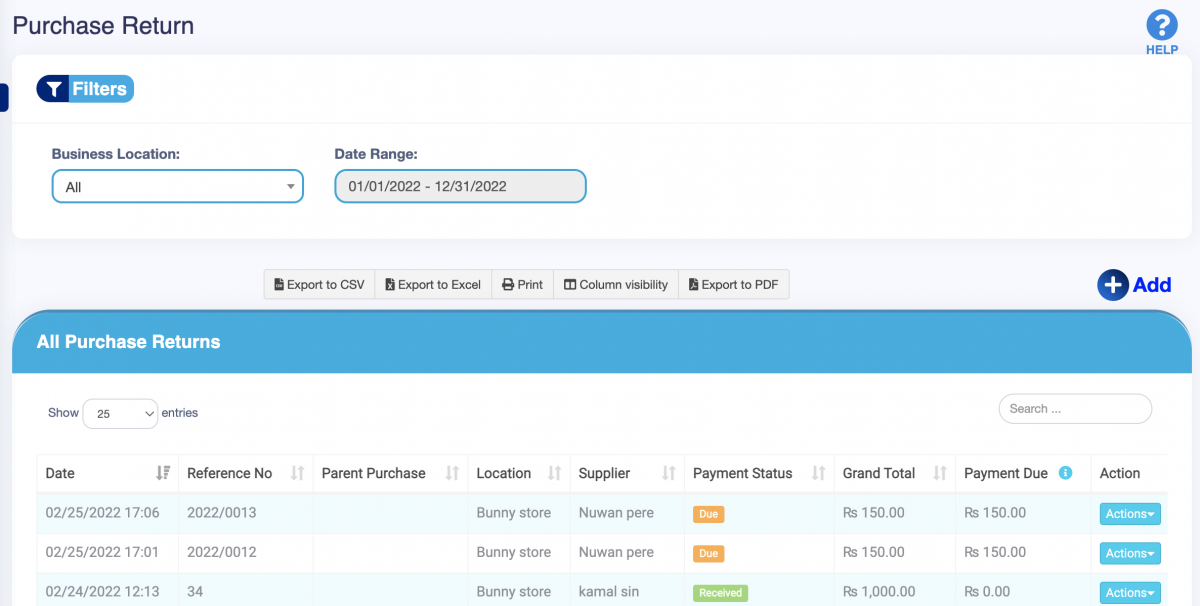
List Purchase Return
Use the List Purchase Return option to view sale returns under the following filters:
- Business Location
- Date Range
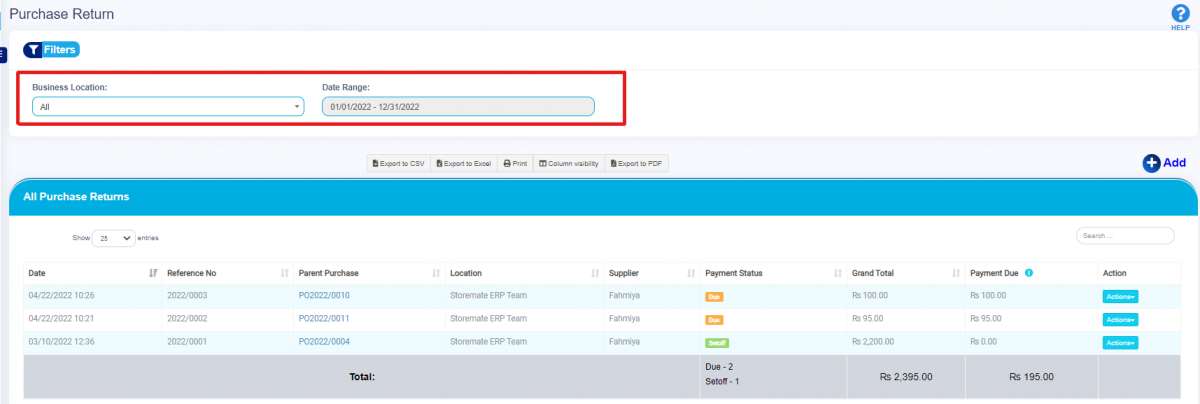
In this section, you can further edit, add payments, view payments, or delete entries using the action button.

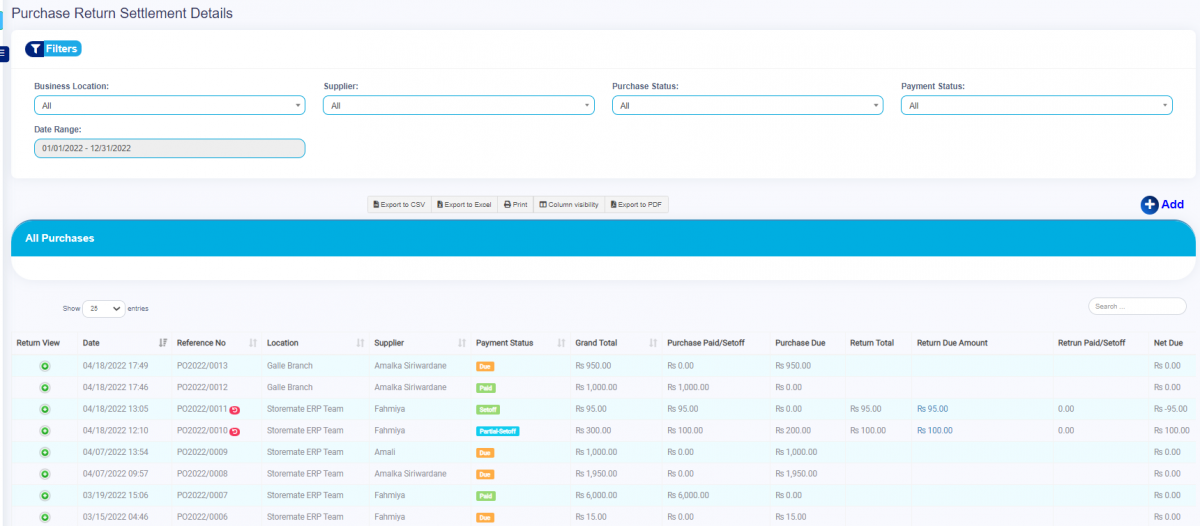
Return Settlement
In the Return Settlement tab, you can view all return settlements. You can also press the green plus icon to view detailed return settlement information.
Path: Purchase > Return Settlements