Invoice Layout: Market Price Vs Our Price
Detail Guide
This guide will walk you through the steps to compare market prices and your own pricing in the invoice layout SLIM 04.
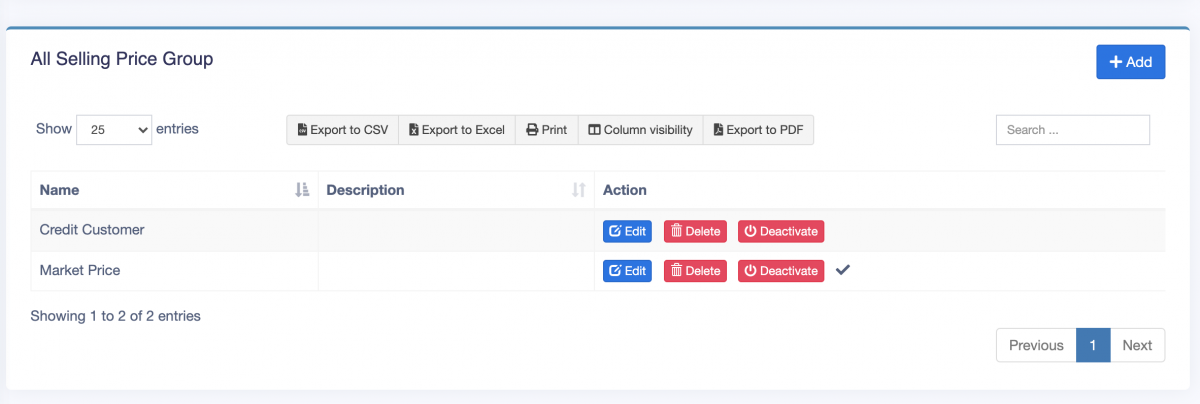
How to Add Market Price
- Navigate to Product -> Selling Price Group -> Add
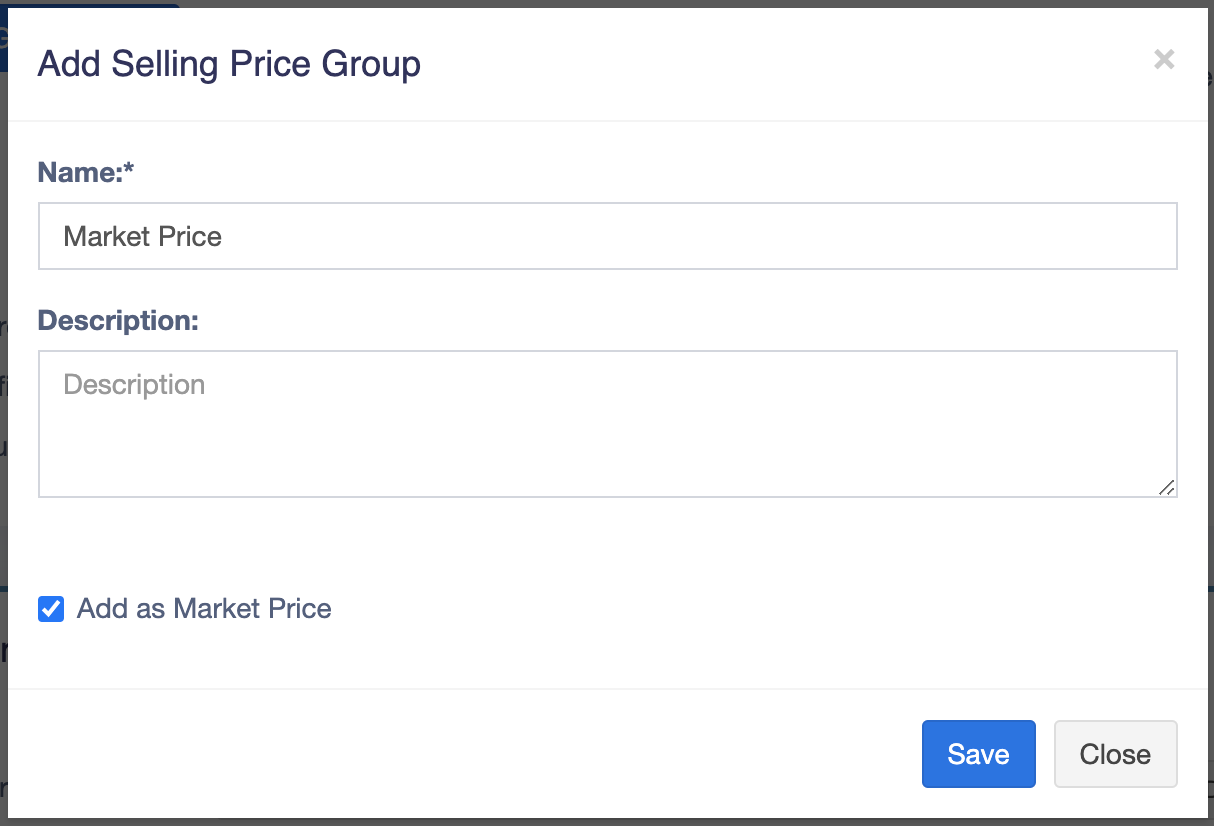
- Add the Market Price and check the option “Add as Market Price”.
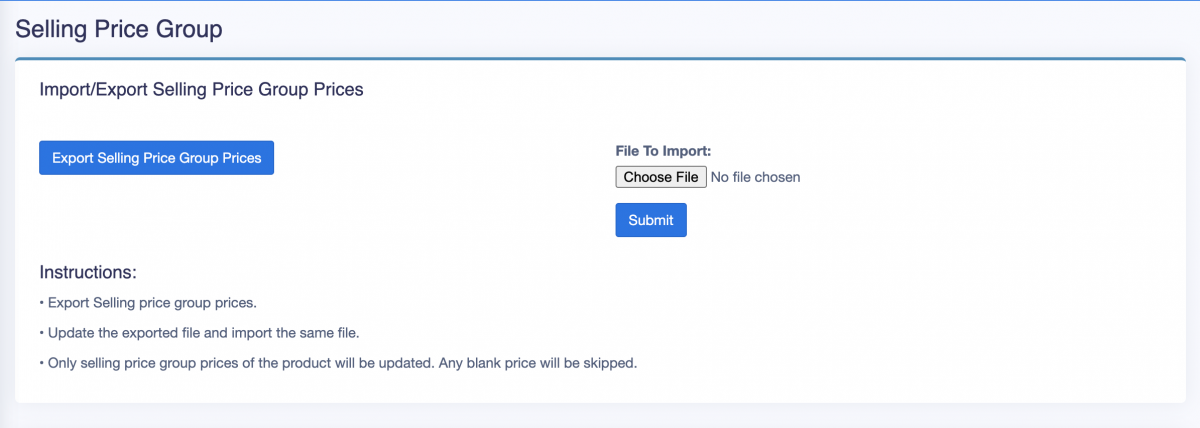
- Alternatively, download and update the Excel sheet with market prices, then upload it.
- You can also go to Product -> List Product and add or edit the Selling Price group to update the market price.
- After updating, switch the invoice layout to Slim 04.
Enter the market price here:
Adding a New Invoice Layout
- Navigate to Settings -> Invoice Settings -> Invoice Layout -> Add.
- Provide a unique name for the layout.
- Add text for the top/header of the invoice, such as your shop name, and center-align it with Heading 1 format.
- Fill in other relevant details.
- You can choose to show or hide address fields.
- Mark a layout as default if it will be used when no specific layout is assigned to a location.
- Click Save.
To use an invoice layout for a specific location, navigate to Business Locations -> Edit and assign the desired invoice layout.
POS Billing
Once set up, you can add items in POS and start the billing process.
Note:
- If the market price is less than your price, the market price will automatically be replaced by your price.
- If you don’t enter the market price, the billing system will set the market price as your price by default.
- Any added discounts will appear as usual.


